Wondering how to install drip irrigation without wasting water or clogging lines? Plan the layout, add a backflow preventer, filter and regulator, lay tubing, then attach emitters. Here is the order, step by step.
This guide sits within the wider topic of water wise gardening.
| Item | Value |
|---|---|
| Call-before-you-dig notice | At least three days before digging (dial 811) |
| Filter | At least 150 mesh |
| Pressure in the drip line | About 20-30 pounds per square inch |
| Emitter flow rate | Up to 20 gallons per hour |
| Half-inch tubing run | No more than 200 feet |
| Trench depth for poly tubing | Six inches |
These figures come from the Southern Nevada Water Authority drip irrigation page. Figures can change and local rules differ, so check the source before you rely on them.
Plan the layout before you buy parts
A solid plan helps the system work efficiently, This Old House explains, so start with a map of your yard. Mark these on it:
- Areas with different watering needs, based on plant types and sun exposure
- Existing irrigation lines that could interact with the new setup
- Plant locations and the water each one needs
- The water source where the system will connect
Next, estimate what each zone needs. Climate, plant type and size, soil type and sun exposure all change the answer, and larger plants and trees often need more water than small shrubs and flowers, according to the same This Old House guide.
Drip works well in dry climates because it applies water slowly and deeply to the root zone, giving soil time to absorb it. Before any digging, the SNWA page says to dial 811 at least three days ahead to check for buried utility lines.
Which parts does a drip system need?
The SNWA page admits the number of components can feel overwhelming, so learn the parts first:
- Irrigation clock: the “brain” that regulates watering and is wired to the electric valves.
- Backflow prevention device: a valve that keeps irrigation water from flowing back into your home’s drinking-water supply.
- Electric control valve: opens and closes the flow to the irrigation lines on the clock’s schedule.
- Filter: goes after the control valve to trap particles that could clog emitters; at least 150 mesh is recommended.
- Pressure regulator: reduces pressure to the lowest level drip needs, usually about 20-30 pounds per square inch.
- Pipes and tubing: drip systems use mostly black flexible polyethylene (PE), with some hard white PVC at strategic points.
- Emitters: single-point, multiple-outlet or inline types, with flow rates up to 20 gallons per hour.
- End or flush cap: closes the line while allowing it to be flushed of debris.
For tools, This Old House lists end nippers, a flat-blade shovel, a sledgehammer and a utility knife.
Install the backflow preventer, valve box, filter and regulator
The backflow prevention assembly stops irrigation water, which may carry fertilizer or weed killers, from flowing backward into your drinking water. The SNWA page calls this device critical for health and safety.
In Southern Nevada, that page says city codes call for the assembly and a plumbing permit is needed to install it. Rules elsewhere differ, so check with your local water utility or building department before you connect anything.
Placement matters too. The most common type there, a pressure vacuum breaker, should sit at least 12 inches above the highest irrigation device and 12 inches away from any walls, per the SNWA page.
The valve box protects the valves, filter and regulator. Follow the SNWA sequence:
- Wet the ground to soften it for digging.
- Dig a well for the box and a trench six to eight inches deep leading to it from the backflow assembly.
- Make the well deep enough that the box sits about two inches above grade, then add one to two inches of gravel for drainage.
- Connect the valves, with no more than three valve assemblies in one box.
- Attach a filter and pressure regulator to each assembly, placing the filter where you can easily remove its cap for periodic flushing.
- Set the box over the valves and level it with bricks or blocks.
Wrap the gaps around exiting pipes with fabric or tape so soil stays out of the box. Leave the trench open, because you will use it later to run wires to the clock.
Lay trenches and tubing
Dig trenches from the valves to every spot where pipe or tubing will run. According to the SNWA page, PVC pipe needs a depth of at least 12 inches, while poly tubing for drip needs only six inches. Irrigation and lighting wires can share the same trench.
Then lay the lines in this order, drawing on both the SNWA and This Old House guides:
- Run PVC from the mainline to the backflow assembly, and from there to the valves.
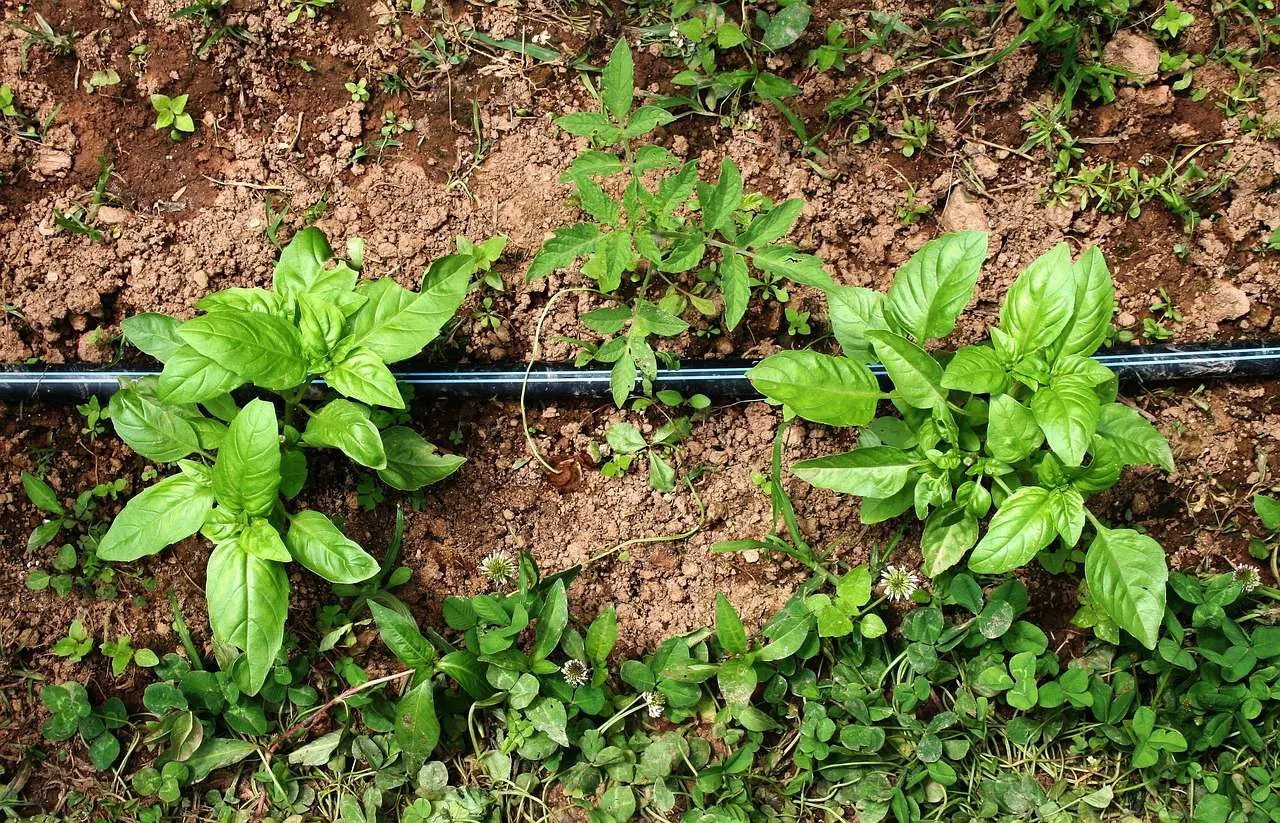
- Run half-inch PE tubing for the drip lines, snaking it across the landscape to within a couple of feet of the planting areas.
- Keep each half-inch run to no more than 200 feet, or you will lose water pressure.
- Join separate sections with compression fittings, and use T-fittings where you want to branch off to other garden areas.
- Secure the tubing with metal staples every 24 inches.
- Attach a flush end cap at the end of each line, and mark its location or put it in a small valve box so you can find it later.
Add emitters, set the clock and test the system
Leave the tubing exposed until the plants are in place. After that, attach microtubing and emitters to bring water to each plant, as the SNWA page describes. This Old House adds that a hole punch tool makes the openings in the main line, and emitters belong near the root zones.
The clock tells the system when to start and how long to run. Wire it to the valves through the trenches you already dug, then switch the system on and look for leaks, pooling or dry spots.
Timing affects how much water actually reaches roots. This Old House advises watering only in the early morning, since watering in strong sun can let up to 90 percent of moisture evaporate. Run times are a separate question, and the guide on how often should i water my garden covers them.
The This Old House guide also says to clear gravel or mulch from the installation area before digging. Once the lines are in, mulching to save water explains how to cut evaporation further.
Frequently asked questions
Why does a drip system need a pressure regulator?
Show answer
Household pressure is higher than emitters are built to handle. This Old House says drip lines typically need 25 to 30 pounds per square inch, and that excess pressure can blow out fittings or cause uneven watering.
Is a backflow preventer really necessary?
Show answer
The SNWA page says it must be included in any irrigation system it describes. Requirements and permits vary by location, so ask your local water utility or building department.
Which emitters suit long rows or slopes?
Show answer
The SNWA page suggests pressure-compensating emitters, which keep the application even along long rows and uneven ground.
Can I rent a trencher for the job?
Show answer
Yes, according to the SNWA page, equipment rental stores carry them. Expect to dig some sections by hand around corners, in small areas and near tree roots.